Visual Studio Code Setup
Visual Studio Code is a free, open-source code editor developed by Microsoft. It has become one of the most popular development environments for Python programming, offering excellent support for data analysis, debugging, and interactive computing.
VS Code provides an integrated experience for Python development that combines the best of traditional code editing with full Jupyter notebook support. You can create and run Jupyter notebooks directly in the editor, write Python scripts with interactive cells, and leverage powerful debugging and version control tools all in one place.
It is used by data scientists, researchers, developers, and journalists to analyze data and create reproducible research.
Examples of data journalism projects that could be developed using VS Code include:
Jupyter notebooks for investigating public records
Interactive data exploration and analysis
Automated data processing pipelines
Version-controlled research projects
Collaborative data investigations using Git integration
You can find thousands of Python projects on GitHub that use VS Code for development, including projects by The New York Times, FiveThirtyEight, BuzzFeed News, and many others.
There are several ways to set up Python development in VS Code. This tutorial uses uv, a fast and modern Python package manager that makes dependency management simple and reliable. We’ll walk you through installing VS Code, Python, uv, and all the tools you need for data analysis.
Note
We recommend uv for all users because it automatically manages Python installations and virtual environments, preventing common setup issues. Advanced users familiar with other tools (conda, pipenv, etc.) can adapt the examples, but following the uv approach will give you the smoothest experience.
Install Visual Studio Code
The first step is to visit Visual Studio Code’s homepage in your web browser.
Click the “Download for [Your Operating System]” button. The website should automatically detect your operating system and show the appropriate download.
The installation file will download to your computer. Find the file in your downloads directory and double-click it to begin the installation process. Follow the instructions presented by the installation wizard, sticking to the default options.
Warning
On macOS, you may need to drag VS Code to your Applications folder after downloading. On Windows, the installer will handle everything for you. On Linux, you may need to install via your package manager or using the downloaded .deb/.rpm file.
Install Python Extension
Once VS Code is installed, open it and you’ll see the Welcome screen. We need to install the Python extension to get the best Python development experience.
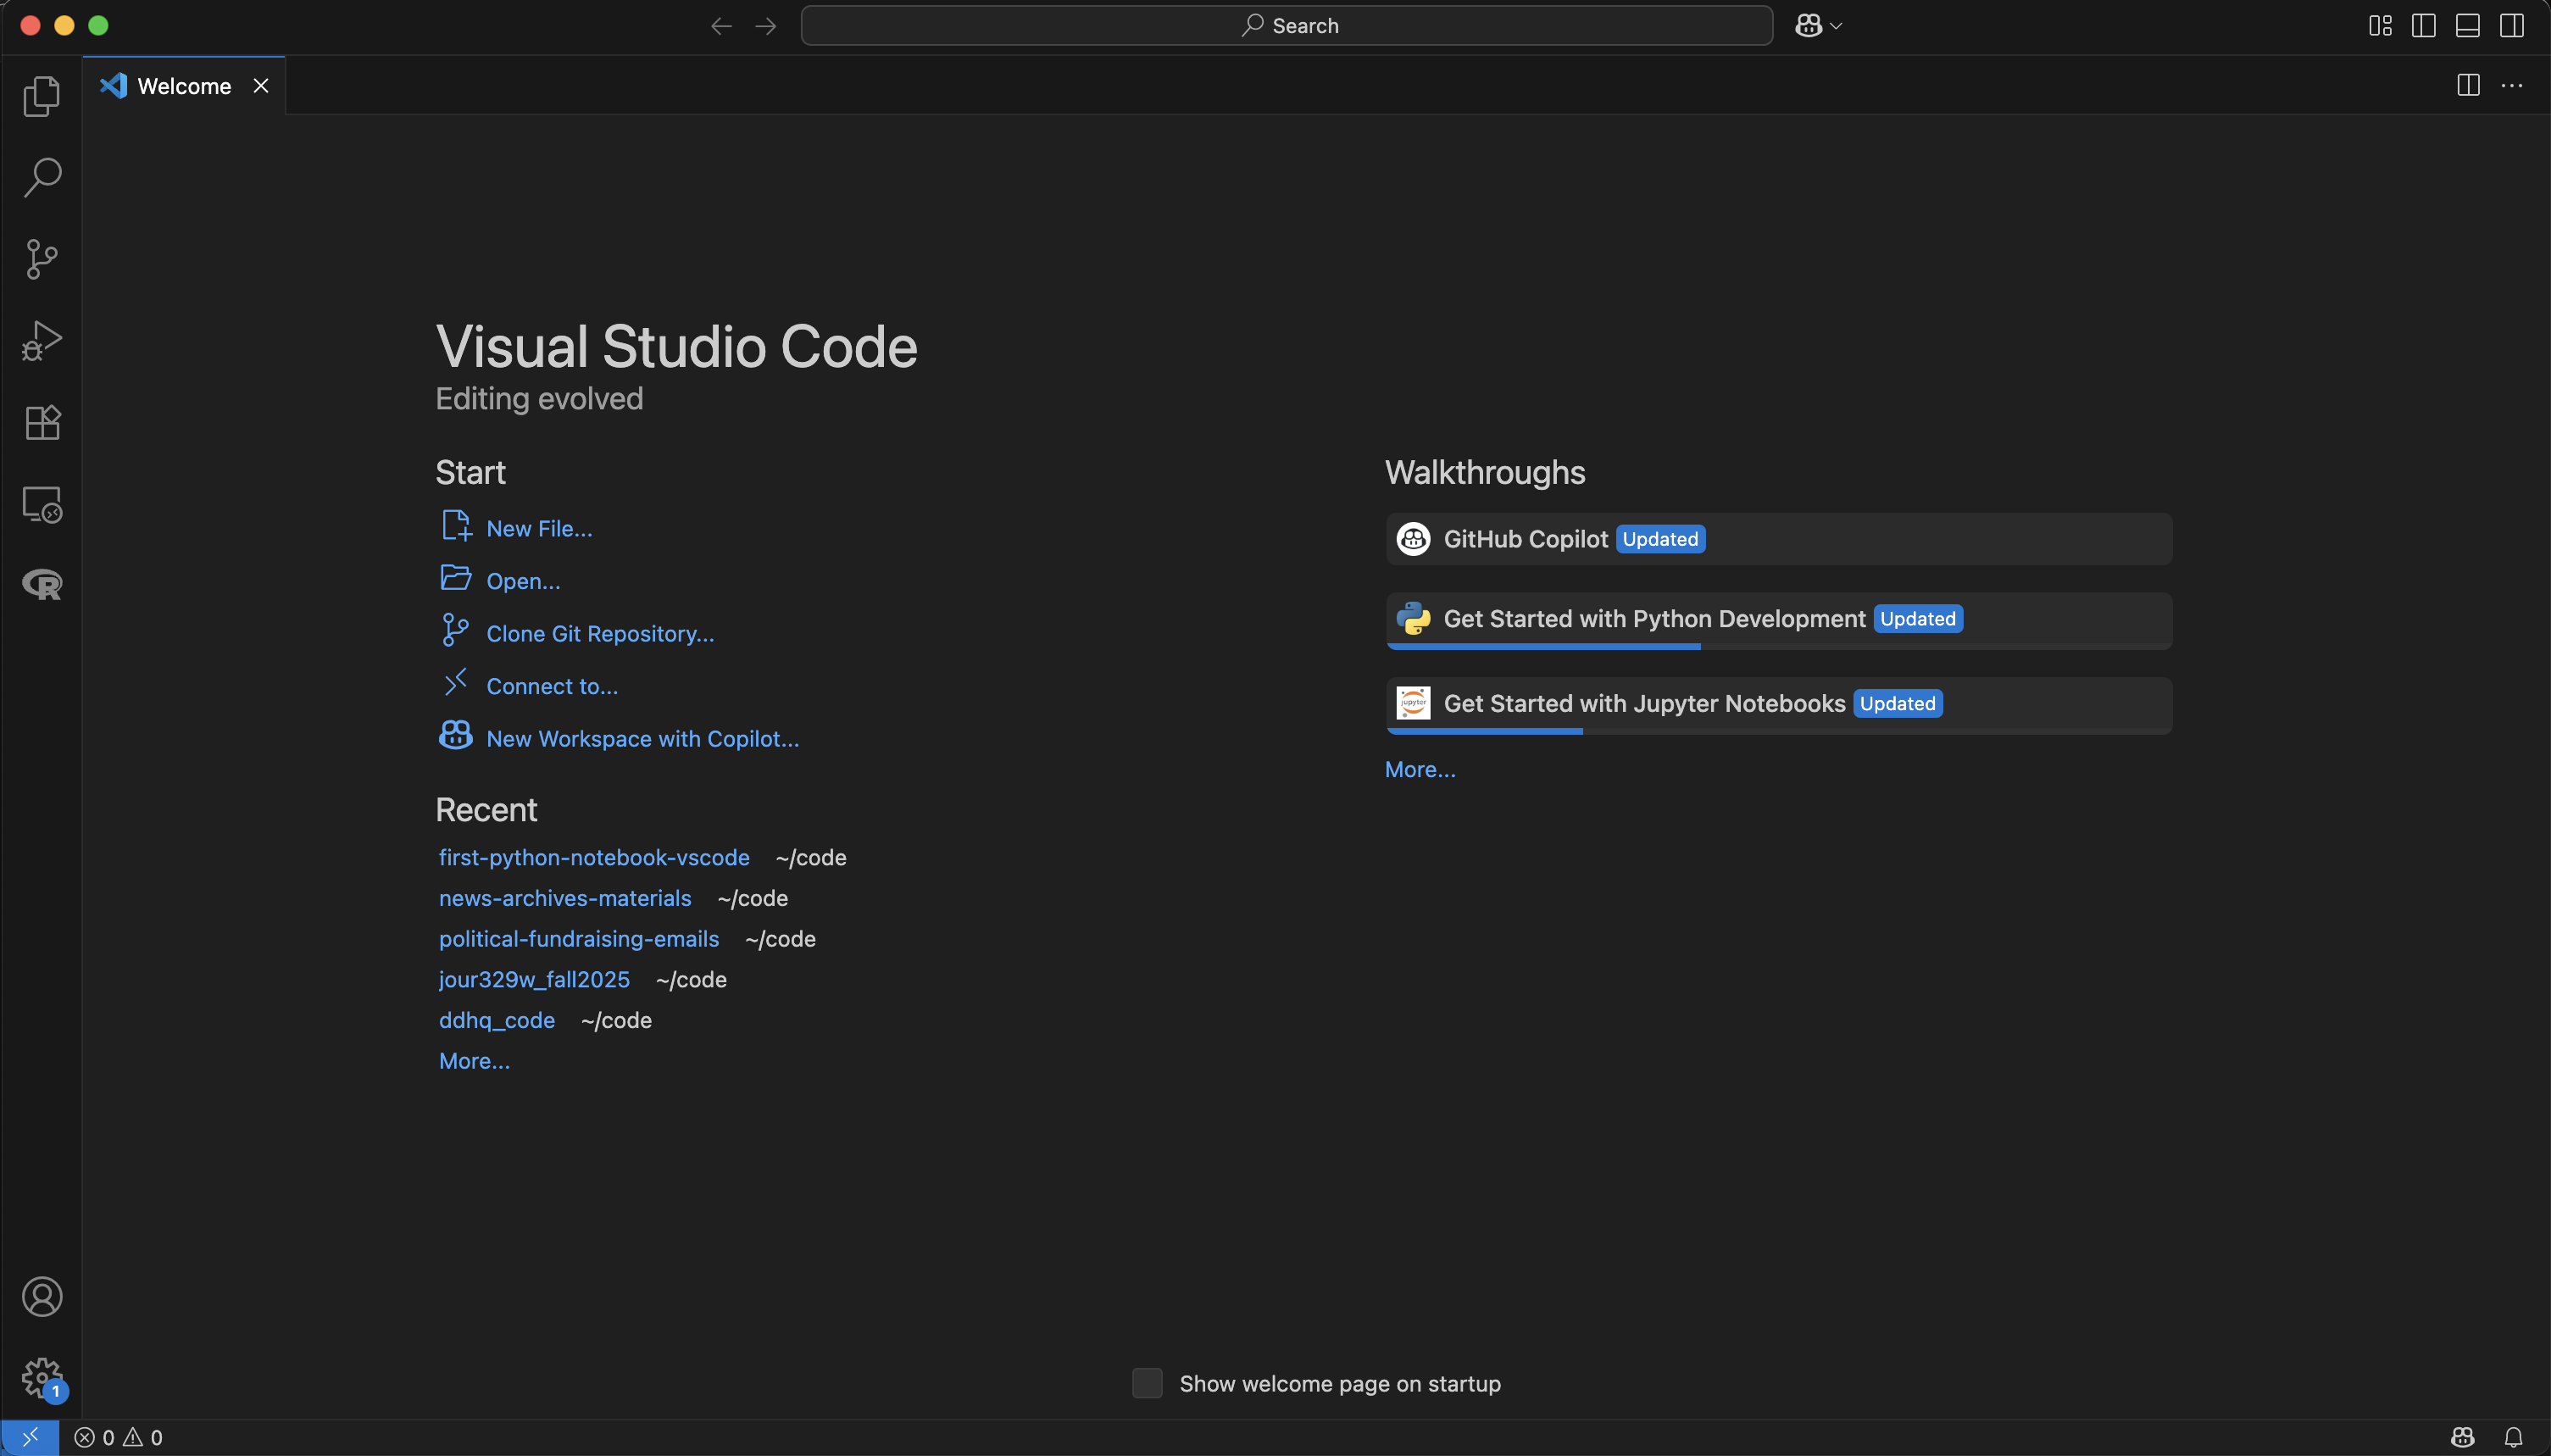
Click on the Extensions icon in the left sidebar (it looks like four squares)
Search for “Python” in the extensions marketplace
Find the official Python extension by Microsoft (it should be the first result)
Click “Install”
This extension provides:
IntelliSense (code completion and suggestions)
Debugging support
Code formatting and linting
Jupyter notebook support
Interactive Python (REPL) support
Install Jupyter Extension
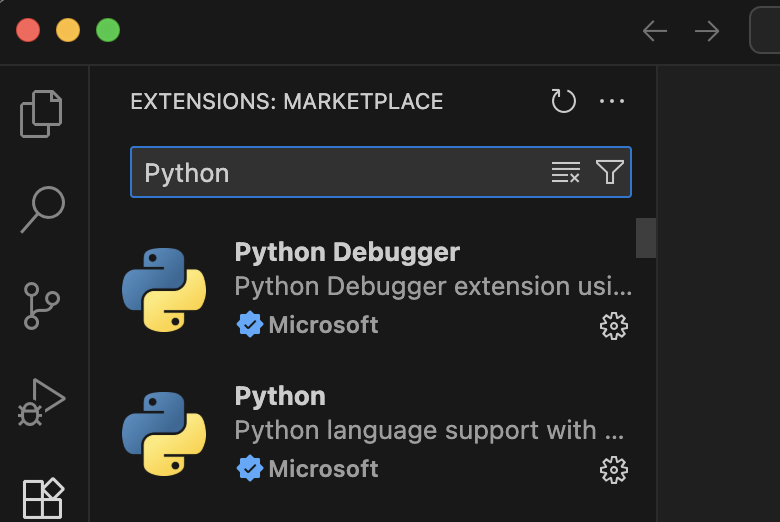
Since we’ll be working with Jupyter notebooks, also install the Jupyter extension:
In the Extensions panel, search for “Jupyter”
Find the official Jupyter extension by Microsoft
Click “Install”
This extension enables:
Full Jupyter notebook (.ipynb) support directly in VS Code
Interactive Python cells in .py files
Variable explorer
Data viewer for pandas DataFrames
Notebook diffing and merge capabilities
Install uv (Python Package Manager)
Before setting up Python, we’ll install uv, which will handle Python installation and package management for us. This approach ensures you get the latest Python version and eliminates common environment issues.
Open your terminal or command prompt and run the appropriate command for your operating system:
On macOS and Linux:
curl -LsSf https://astral.sh/uv/install.sh | sh
On Windows:
powershell -ExecutionPolicy ByPass -c "irm https://astral.sh/uv/install.ps1 | iex"
After installation, restart your terminal or command prompt to ensure uv is available.
Verify installation:
uv --version
You should see the uv version number, confirming it’s installed correctly.
Set Up Your Project with uv
Now we’ll create a new Python project and install all required packages. uv will automatically download and set up the correct Python version for you.
Create your project directory:
uv init first-python-notebook
cd first-python-notebook
Install required packages:
uv add pandas matplotlib seaborn jupyter altair
This command will:
Download and install Python 3.12+ if needed
Create a virtual environment automatically
Install all required packages for data analysis
Create a
pyproject.tomlfile to track dependencies
The installation may take a few minutes the first time as uv downloads Python and packages.
Verify Your Setup
Let’s verify everything is working by testing Python and our installed packages:
Open VS Code in your project:
Launch VS Code and then open the first-python-notebook directory, or from the command line in that directory:
code .
Create a test file: Press
Ctrl+N(orCmd+Non Mac) to create a new fileSave it as
test.py: PressCtrl+S(orCmd+S) and name ittest.pyAdd test code:
import pandas as pd
import matplotlib.pyplot as plt
import seaborn as sns
import altair as alt
import sys

print("🎉 All packages imported successfully!")
print(f"Python version: {sys.version}")
print(f"pandas version: {pd.__version__}")
print(f"altair version: {alt.__version__}")
Run the file: Right-click in the editor and select “Run Python File in Terminal”
You should see success messages and version numbers printed in the integrated terminal at the bottom of the screen.
Tip
If you see import errors, make sure VS Code has selected the correct Python interpreter (see the next section on environment selection).
Your First Interactive Session
VS Code provides excellent support for working with Python and Jupyter notebooks.
Python Interactive Window
Create a new file and save it as
analysis.pyin your project directoryAdd the following code:
# %%
print("This is my first interactive cell")
x = 2 + 2
print(f"2 + 2 = {x}")
Click “Run Cell” above the
# %%comment
This will open an Interactive Window where you can see the output, providing an interactive development experience integrated into VS Code.
Jupyter Notebooks in VS Code
You can also create traditional Jupyter notebooks:
Press
Ctrl+Shift+P(orCmd+Shift+Pon Mac) to open the Command PaletteType “Jupyter: Create New Jupyter Notebook”
Press Enter
This creates a new .ipynb notebook file where you can add cells and run them interactively. Save it and call it notebook.ipynb.
VS Code provides the full notebook experience including:
Rich output display (plots, tables, HTML)
Variable explorer
Kernel management
Cell execution controls
Markdown and code cells
Selecting the Right Python Environment
After installing packages, it’s crucial to ensure VS Code uses the correct Python environment. This is especially important if you have multiple Python installations.
For Python Files (.py)
When working with Python files, VS Code needs to know which Python interpreter to use. If you have uv installed, it will do this automatically.
For Jupyter Notebooks (.ipynb)
Notebooks use “kernels” (similar to interpreters) to run code. When you start a new notebook, you can select a new kernel. You should be able to pick “Python Environments” and then the first choice should be first-python-notebook. Click on that.
Now you’re ready to start learning Python for data analysis! The next chapter will introduce you to working with Jupyter notebooks in VS Code.